Showing posts with label dry embossing folders. Show all posts

Tuesday, June 18, 2013

I haven't posted in over a year! wow :( I've been crafting though, just not blogging.

I wanted to share some things I made using ONLY cuts from the Once Upon A Princess cartridge. I like this cartridge a lot. It has fun paper dolls and other "girly" cuts. However, some of them have to be cut in certain colors/ways to make the cut work (which, I kind-of don't like, epecially b/c I want to use PK face stamps.)

In this LO I wanted a fun water theme. In this picture I have used 2 cuts from the OUAP cart. After the pic I did add a couple more cuts to add some more fun and color.

This is a close-up of the mermaid paper doll from this cartridge. 

Just a fun ice cream cone that is available on the cart. I added some Glossy Accents
 to the edges to look like melting ice cream. I also dry embossed the cone.

small one

Tuesday, November 1, 2011

Halloween Monster Card

Here is a card my daughter and I made over the weekend. She wanted to make Mimi and Papa a Halloween card.... I was playing around with ideas and this is what she LOVED. She is VERY hard-headed and set in her ideas! If not this card would be a bit different. haha :) I embossed the orange card-stock with a Halloween Cuttlebug folder & the monster's belly with another folder. Then added some Glossy Accents to the Drippy Goo punched paper to make it look like "real goo"... I hope you like it. It's a bit bright and busy, but so is Maddie!! hehe


small one

Friday, August 5, 2011

Indie Art Ice cream Cone Twinchies

In a Cafemom group we are swapping Summer Twinchies and Trinchies. I chose to do ice cream for my Twinchies. I used Indie Art from my Gypsy for the cones. I embossed the Ice cream with D'vine Swirls, and the cones with a bumby folder (not sure the name). I added a couple bling from the $1 bin. I also added Stardust, white & purple gel pens for the accents, and Glossy accents to make the edges of the Ice cream look wet. 


small one

Thursday, July 7, 2011

Summer Firefly ATC & A Beachy Journal box

Over on Cafemom I'm in a couple Summer themed swaps. The first is an ATC swap-- all things summer!! I chose to make my ATC about Summer fireflies. I used a dark blue CS and added some Glimmer Mist. I cut my Fireflies in a jar from Stretch Your Imagination (great cart!). I {of course} used some Stickles and glimmer pens. I covered the jar with Glossy Accents. I used my Gypsy to weld the word Summer. Unfortunately, I can't remember what cart the letters were from! LOL 


The second Summer swap was Beach themed. I did journal boxes. I kept these pretty simple. I cut the shape from Elegant Edges using the frame option. I dry embossed the top layer with D'vine Swirls and added a beach Umbrella. I had to cut 2 umbrellas for each JB, to add the layers (I cut them apart).


small one

Thursday, June 16, 2011

Sunday, May 29, 2011

Kids Birthday Cards

Yesterday we had 2 birthday parties to go to! Yes, Two in one day... wow.  I decided last minute (of course) to make the card. I love making cards, but WHY did I wait til midnight on Friday to decide? It's not like I didn't know we were going to the parties!! LOL
A boy card and a girl's card, both for 3 year olds! For the girls card I decided to modify one of my already made cards (it was late & I was tired)... Create a Critter for the cards were used


For the Boy card, he likes Dinosaurs so, here is what we came up with. I got my hubby to help. It's his cousin, too! I would have added a few more details, but he was getting antsy.... lol


small one

Thursday, March 17, 2011

Birthday Card & Paper roses -- Cafemom challenges

 Today I came home to 2 challenges on Cafemom! I was pretty excited... but, only had 12 hours to do both. lol The first challenge I did was to make 3D paper flowers. The one on the left I used some stickles and the one on the right I inked the edges. I'll share a tutorial about these later... once you get the hang of it, really pretty easy and can put on most things!


The next challenge I did was to make a birthday card. I did a non-traditional fold (gate-fold I think). I embossed using the Cuttlebug Birthday folder. Stamped happy birthday, the presents, and the balloon, then used a glitter gel pen to accent some. Inked edges, added a ribbon, and added some brads to the corners of the happy birthday "sign." I also added the cute little cupcake from Simply Charmed. 


small one

Friday, March 4, 2011

What's Up Card and a Book Mark ~CM Challenges

Today I have been a busy ladybug! I started out making some sayings for a swap, then got challenged. The first challenge was to make a card with "What's up?" on it. hehe How funny! I used Create a Critter for all of the cuts. A purple, pink, & green glitter gel pen (thanks Sandra!) was used to write the "sentiment" and add some highlights. I dry embossed the the blue background and the "grass". I added sticky jewels to the skunks hair flowers. 


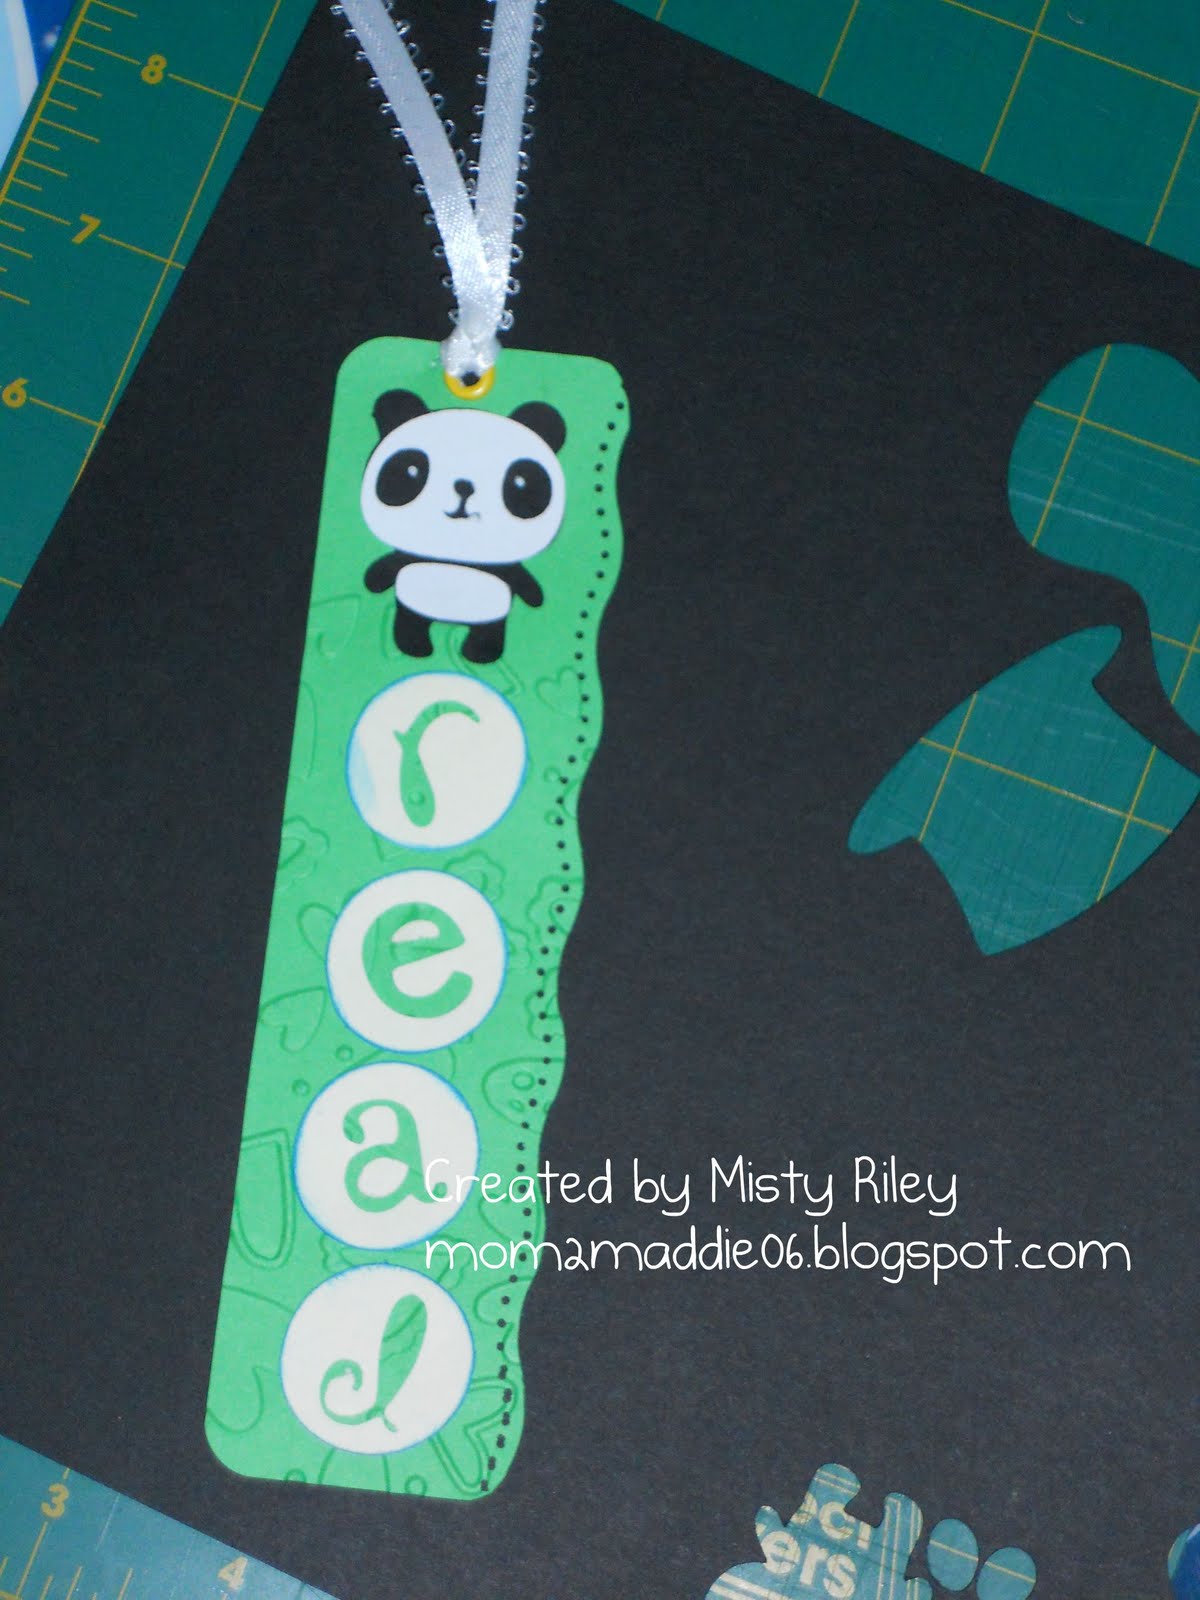
The second challenge I was to make a child's book mark. It was pretty simple! I just cut a green strip of paper, rounded the edges and used and edge punch down one side. I cut a panda at 1.5 from Create a Critter and the letters R, E, A, & D from Mini Monograms. I added an eyelet and some ribbon... That was it! :) I'll probably end up making a few more and one for me, too! haha


small one

Tuesday, March 1, 2011

Just Because card

Hey guys,
I quickly made this Just Because card tonight for a "Mystery Die Cut Challenge" over at Cafemom. She sent me the flower pot and the flower stem. I used the Cuttlebug to emboss the Swiss Dots and the Daisy pattern on the card front. The purple flower is from Walk in My Garden that I cut at 1.5 and the flower pot and stem are from the same cart (I'm pretty sure). I added a ribbon down the side and 2 buttons in the corner. I stamped "Just Because" with a Michael's $1 stamp and some brown ink. Oh, I also added some ink from my Stardust pen! Love that pen!! :) 


small one

Sunday, February 27, 2011

BFF's The cheesiest card lol :)

Here is the CHEESIEST card ever, but the recipient will get it!! I wanted to send my Bestie a card, but couldn't figure out what I wanted on the front.... I came across a card with a peanut and a strawberry on the front and KNEW that was it! haha Peanut Butter and Jelly! I welded and cut a scalloped circle (remember to flip one side so the sides will meet up right! ugh) from Mini Monograms (at 5 I think), inked and Glimmer Misted the front. I added a ribbon and some brads to the bottom part of the card. I cut a peanut from Create a Critter at 2.75 and a strawberry from Simply Charmed at 3.25 or 3.5; then added some Stickles for bling. I embossed the peanut using Tiny Bubble and the strawberry using Swiss Dots. I wrote my sentiment using a pink Gelly Roll pen and going over it with a Sakura Stardust pen. 


Like Peanut Butter & Jelly... We just work!  haha :)

SOooo cheesy, but cute!!

 Fuzzy, but you can see the bling!


small one

Saturday, February 26, 2011

Let's Hang Out! Monkey card

Hello everyone!!
I just wanted to share this cute little monkey card from the Create a Critter cart I made today. I wanted to make my best friend's little boy a card and she calls him "Monkey"... so I thought this was perfect! :) I cut the monkey & vines from Recollections card stock at 3 3/4. The "saying" is cut at 3. I embossed the green background using Cuttlebug's Spots & Dots, then lightly inked over it. I used a Sakura Stardust pen to add a little something to the card. I really hope he likes it!! 


You can barely see it but Maddie (4 years old) wrote her name and her friend's name! :)

Thanks for looking!! :)

small one

Saturday, December 4, 2010

Snow-y / Winter Card with a Penguin

I made a really cute Winter card tonight! I am actually really happy with the way it turned out. Of course it was not exactly my vision, but I do love it. Wishing I had some stickles to jazz it up though... lol 
I just saw a YouTube video where they were dry embossing paper and making cards, so I thought I would try it out too.. I had no experience using an embossing folder, btw! I LOVE the way it adds texture and dimension to the card. :) ALMOST looks "professional scrapper level." I am going to enter it into a Cricut Challenge!!


I'll share the card tomorrow sometime... it's 4am here!!! Night, night. :)


*** Here are a few pics of the card I made!


 This one looks like the wrong color, but I wanted to show the texture and embossing I did.


I think on the inside I'm going to put something about Christmas. The card will read something like this: "Just Chillin'... Until Christmas! Merry Christmas to you and yours!!"